GET A FREE CATALOG
Wood Cornice Installation Guide for First-Time Homeowners
Overview
- This wood cornice installation guide for first-time homeowners covers preparation, precise measuring, cutting, and secure installation using GRM Biowood WPC.
- With step-by-step instructions for corners, joints, and finishing, it ensures a professional, durable, and low-maintenance decorative trim.
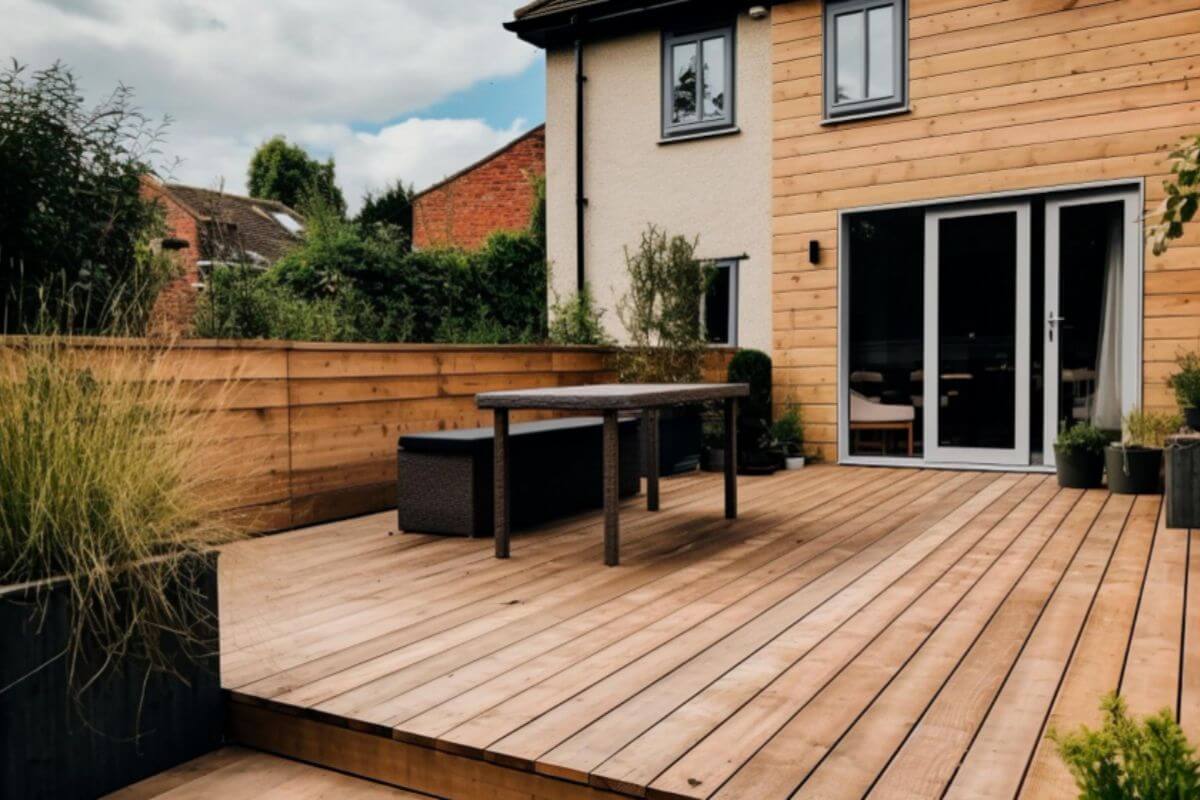
The cornice, or crown molding, adds elegance where wall meets ceiling, enhancing a room’s character and creating a high-end finish. This wood cornice installation guide for first-time homeowners simplifies intricate corner cuts.
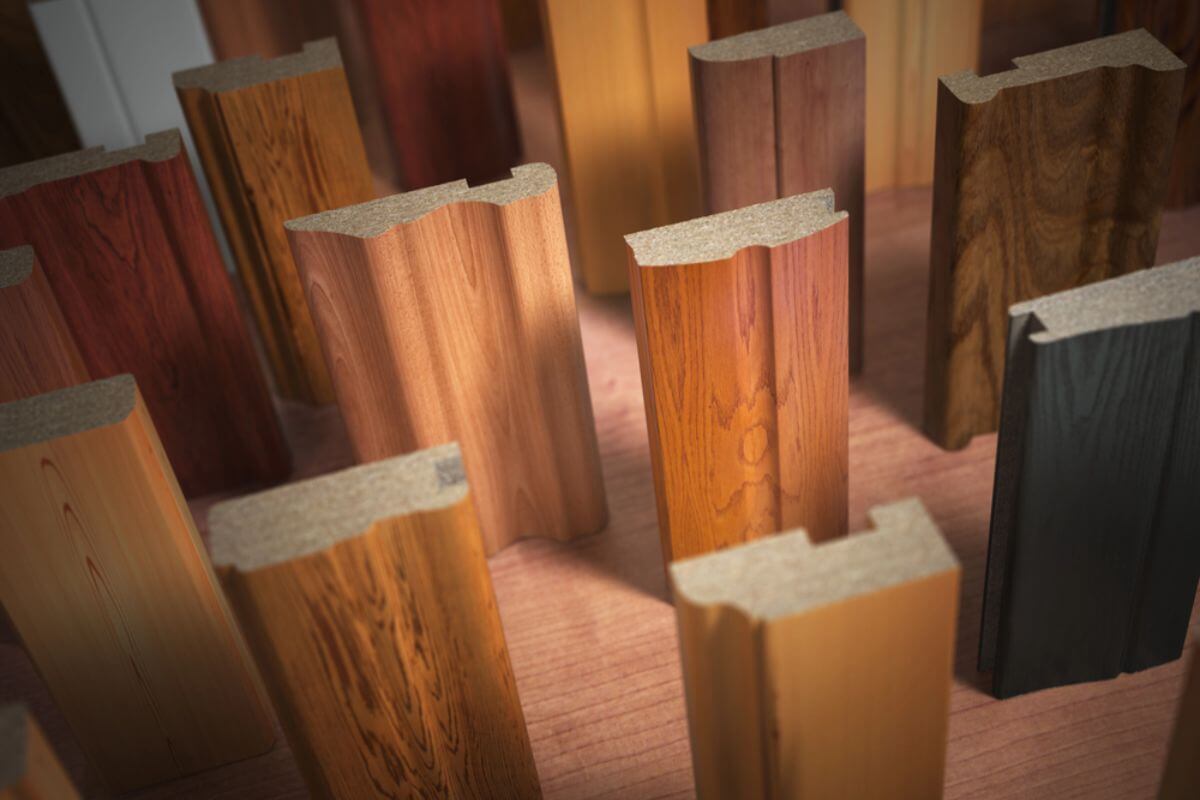
Using GRM Biowood’s wood plastic composite (WPC), you get the warmth of timber with resistance to moisture, termites, and rot.
Preparation
Prepare your workspace before starting cornice installation to ensure safety and efficiency. Using quality materials and taking time at this stage are essential for a smooth, professional result.
Tools And Materials
Having all your tools ready beforehand will make the installation process smoother. You’ll need:
| Category | Item |
|---|---|
| Cutting | Miter saw (powered or manual miter box) |
| Measuring | Tape measure, pencil, protractor, or angle finder |
| Safety | Safety glasses |
| Fastening | Construction adhesive/wood glue, caulk gun, pin nailer (or finish nails and hammer) |
| Finishing | Wood filler/spackle, sandpaper (fine grit), primer, paint |
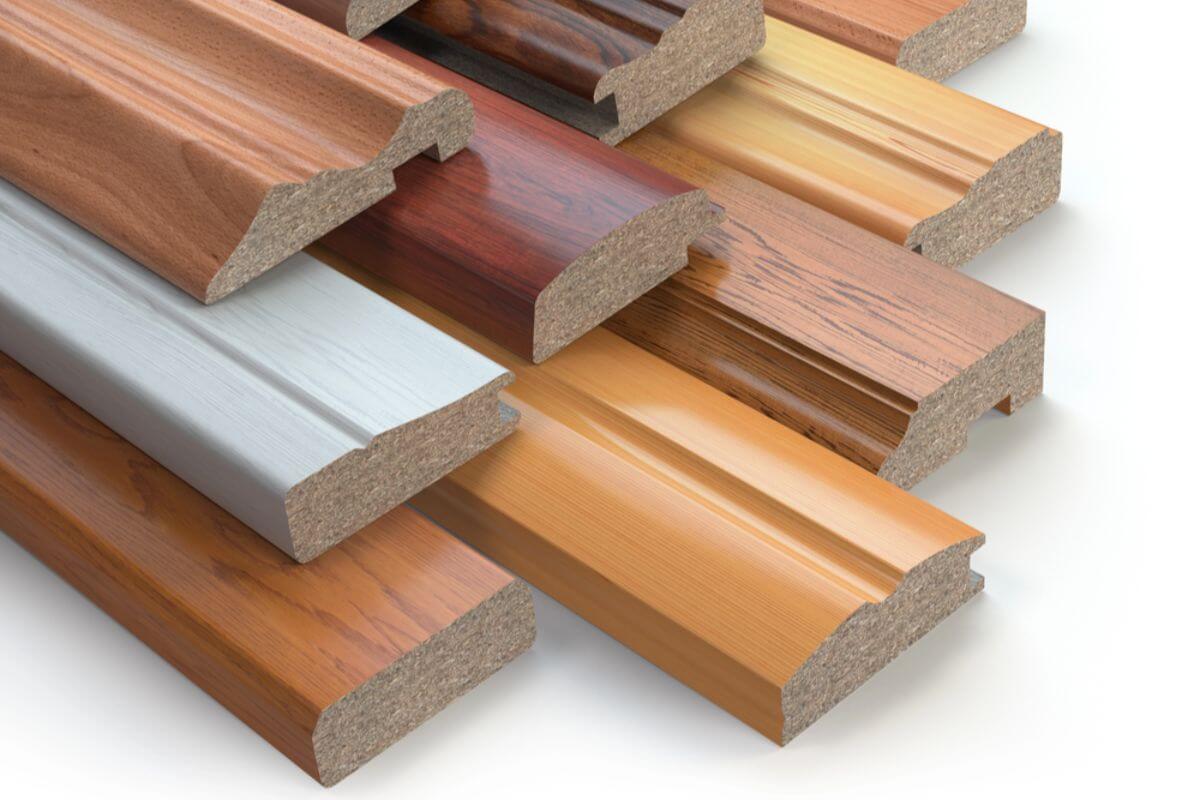
| Cornice | Wooden decking board or tile |
Measure and Add Waste
Measure the room’s perimeter and add 10–15% extra material for waste. Extra length helps with practice cuts and corrections, especially for inside and outside corners.
Clean the Surfaces
Wipe walls with a damp cloth or sponge and mild soapy water to remove dust, dirt, and grease. For tough spots, use a small amount of vinegar or a gentle cleaner. Rinse and let dry completely. Avoid harsh chemicals that could damage paint or prevent adhesive from bonding.
Practice Cuts
Use scrap wood to practice cuts on your miter saw before cutting the main pieces. Label each practice piece with the angle for accurate replication. For WPC, use a fine-toothed blade to minimize chipping and achieve smooth edges.
Measuring And Marking
Accuracy here saves hours of frustration later.
Prep The Walls
Draw a light guideline along the ceiling where the cornice will sit. Use a level to ensure the line is straight. This reference helps keep each cornice piece aligned.
Locate Studs And Joists
Use a stud finder to locate wall studs and ceiling joists for cornice installation. Cornices must be secured to solid wood framing, not just drywall or plaster. Nailing into studs and joists ensures a stable, long-lasting hold and prevents sagging or detachment over time.
Draw Guide Marks
Mark the bottom edge of each cornice along the guideline. Uniform marks ensure that the height remains consistent across the room.
Suggestion: Number each cornice piece and mark the direction it should face to avoid confusion during installation.
Measure And Mark The Cuts
This step tells you exactly where to cut your cornice board.
What to do:
- Measure the length of the wall from the corner to where the next piece will start (or end).
- Transfer this length to the actual cornice piece.
- Mark the location where the final angled cut needs to begin or end.
Tip: When marking the board, measure along the bottom edge of the cornice that touches the wall. Use a pencil to mark the endpoint. For corner cuts, cut at an angle starting from that mark rather than straight across.
Cutting The Corners
Cutting corners is the most critical step for a professional finish. For standard 90° walls, use mostly 45° cuts. Position the cornice on the miter saw as it will sit on the wall, with the bottom edge against the fence and the top edge on the saw table.
Inside Corners
For inside corners, one piece is cut square while the other is coped to fit perfectly against it.
Use your miter saw to cut the first piece at a 90° angle. Then, with a coping saw, trim the second piece so it fits snugly against the first.
Test the fit before attaching to ensure no gaps.
Visualization: Think of fitting two puzzle pieces together. The coping allows one piece to “wrap around” the other for a seamless fit.
Outside Corners
For outside corners, cut both pieces at 45° on the miter saw to form a 90° corner. Lightly sand edges for a precise fit. Slightly undercut the pieces first and then sand as needed, since WPC allows easy adjustments for a perfect joint.
Installation
In this section, you will be guided on how to install your cornice piece one by one:
Test The Fit and Apply Glue
- Test: Before glue, hold the cut piece against the wall and ceiling. Check the length and verify that the corner cuts fit snugly against the adjacent piece. Make small adjustments if needed.
- Glue: Once satisfied, apply a continuous zigzag bead of construction adhesive or wood glue to the back surfaces that will touch the wall and ceiling.
Avoid applying too much adhesive; excess will squeeze out when you press the cornice to the wall.
Nail Into Place
- Press the cornice firmly into place, lining up the bottom edge with the guideline you drew earlier.
- Use your nailer (or hammer and finish nails) to drive nails through the cornice and into the studs and joists you marked in the previous step. This is what provides the long-term structural hold.
- For longer pieces, consider nailing at both ends first, then at intervals along the run.
Best Practice: Pre-drill nail holes in thicker WPC boards to prevent splitting.
Join Corners And Secure Runs
Work your way around the room, installing one piece after another. When you install a piece that meets a corner, apply a dab of glue to the corner joint itself before pushing the pieces together.
To secure: Nail the pieces into the studs near the corner, holding the joint tightly.
Secure Long Runs
For walls longer than one cornice piece, create a scarf joint. Cut both ends at opposing 45° angles, apply glue, overlap tightly, and nail into studs. This diagonal joint blends seamlessly, appearing as a single continuous piece when painted.
Finishing
After the adhesive dries, fill nail holes, corner seams, and scarf joints with wood filler or spackle.
Sand and Prime
Once dry, sand with fine-grit paper until smooth. Wipe away dust and apply a coat of primer, focusing on filled areas for an even base.
Paint
Apply two coats for a durable, professional finish. Use interior acrylic-latex enamel with semi-gloss or gloss for indoor cornices, and exterior-grade acrylic latex or trim-specific paint for outdoor cornices to resist UV, moisture, and mildew.
Key Takeaway
Mastering cornice installation doesn’t have to be intimidating. This wood cornice installation guide for first-time homeowners shows that careful prep, precise measuring, and using durable GRM Biowood WPC ensure a flawless, long-lasting finish.
From indoor trims to outdoor decorative features, at GRM Biowood, we offer versatile WPC options. Reach out to find the perfect fit for your design and durability needs.